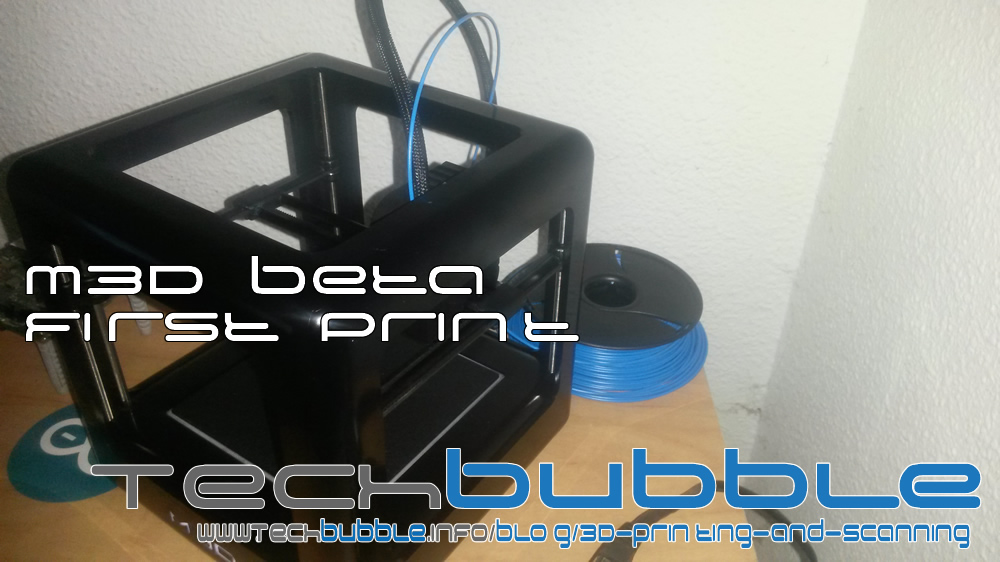
HANDS ON: The Micro 3D Beta First Print
Adam Milton-Barker | Jan 7, 2015 | 3D Printing and Scanning | 7872Having got the Micro 3D Beta Software successfully set up (https://www.techbubble.info/blog/3D-printing-and-scanning/Micro3D/entry/hands-on-the-micro-3d-beta-software-installation-and-setup) it was time to put the Micro 3D printer to the test for the first time. At this moment the team at M3D have suggested to load the filament externally rather than using the internal loader which means that instead of the filament being homed underneath the print bed and fed through to the nozzle, it is fed into the top of the print head manually with the spool sat external to the unit. During the initial set up stages I selected ABS instead of PLA, the suggested method at this stage of the development, due to this the final print was not the best quality it could be. Recently International Space Station Commander Barry Wilmore was in need of a wrench whilst up in space. Normally the crew would need to wait for the next transporter to take supplies to them which would mean a long wait, but Nasa had another idea. Nasa designed the first 3D printed object to be created on Earth and then emailed to the space station to be 3D printed. The wrench has since been added to the Nasa website for download and I thought it would be pretty cool to use this as a first print. Having loaded the filament I visited the Nasa website to download the file that would allow me to print the wrench. Once I had downloaded the .stl file the process was very easy to get running. Just like uploading a photo I opened up the file location and imported it into the Micro 3D Beta Software ready to start my first 3D print. Once loaded you simply select the model and press print, a window then pops up allowing you to fine tune the settings of the print such as how hollow the print is and other settings that will trim up the final print. Once all configured it was time to start the print and a final window pops up giving the estimated time and estimated amount of filament that would be used during the print. As the print started I decided to have a look around the software to see if there were any features I had missed, without warning the PC connected to the printer shut down and restarted. After reboot I repeated the process of loading the filament, loading up the model and restarting the print. The crash happened a few more times and at this point I figured it was more than likely due to the PC I was using as it was a few years old. I removed the internet connection and shut down almost all other processes on the machine, finally the print started and I could get back to work with the 7 hour wait for the item to be printed. I noticed that instead of starting from the center of the printbed, the printer began to print a square along the outer edge of the bed working its way in to the middle which I felt was quite wasteful. I later found out that at this stage M3D have forced a raft feature to protect the printbed which will hopefully be removed soon as this is a major downfall I feel. Whilst the printer did its stuff it was time to get back to work, I took a video at certain points during the print process which you can view below along with some images, if you listen carefully you will be able to hear my pup having a slurp from her water bowl. Once the print was complete as mentioned above the quality was not the best it could be and the crashing scenario continued on next attempt as well as some other issues that I will document once myself and the Beta Support team have got to the bottom of them. The next stages once everything has been ironed out is to design and print a case for the LinGalileo Security System (https://www.techbubble.info/blog/Devs-and-Tecs/entry/TechBubble-LinGalileo-Security-System) I am building using a Linux based Intel Galileo and I am sure the printer will play a major role in many of my more advanced projects including IoT, robotics and A.I. Check out the images and videos below and make sure you return to keep up to date with what is going at TechBubble.
